A couple of people have asked me how I did THE rug! So I thought I would put a tutorial on. I always feel funny at the thought of doing a tutorial, an inbuilt feeling that people wouldn’t want to read it I suppose but then the people have asked so here it is!!
It’s a simple braided rug. Start with an idea of what colours you want and get your material. I used old duvet covers ones I had and some from eBay and charity shops. I like them because they are very inexpensive for the amount of fabric you get. It helps to have an idea of what you want the rug to look like to. Big stripes of colour like mine or a mix or thinner stripes etc so have a think you can always take it in stages as I did.
Cut your fabric into strips, I did thicker strips about an inch or so width as I wanted a good thick rug for Chloe to bounce off when she falls!! How you lay the braids, flat or on their sides, will also affect the finished thickness.
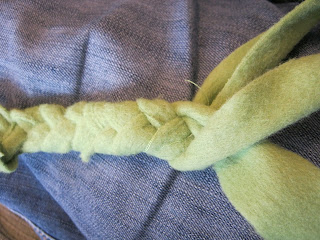
Once you’ve got your strips you can start braiding. Simple three strand braid.
When you get to the end of the strip you can either sew on the next strip or, if you’re impatient like me, just fold the next one into the end of the last one and carry on braiding.
I found it good to stagger the lengths of the first strips so the increased thickness at this overlapping point is one strip at a time rather than all three.
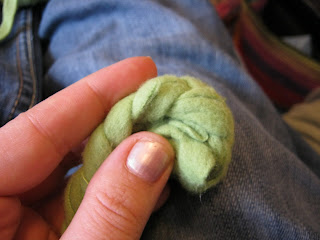
Once you have a good long braid you can either keep going, good if you’re doing a single colour or just an unplanned mix, or you can start rolling. That way you get an idea of of much of colour you want and how your doing befor you add on the next colour. Decide if you want a thick rug or not. If you want it thick then roll so the face of the braid lays inwards and is not seen. If you’re happy with a thinner rug which will also be bigger lay the face of the braid upwards.
Sew the roll together as you go, this is the bit that takes soooooo long and will give you sore fingers. I gave up in the end and used the glue gun for the last 6 inches or so. If you are sparing with the glue then you actually don’t notice it and the rug is still very pliable and can be rolled.
At the beginning the rug builds lovely and quickly, keep the faith though as you get further on because, obviously, the bigger it gets the longer it takes to get bigger!
I was DESPERATE to get the rug finished before the Christmas tree went up as the colour scheme would have looked silly with the old one there. Things like that bother me now i spend all my time at home with Chloe.
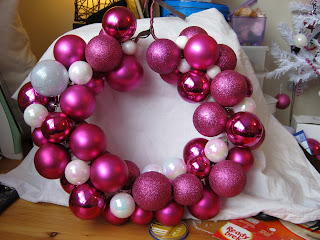
Heres some of our decorations!!
Merry Christmas ;)


No comments:
Post a Comment